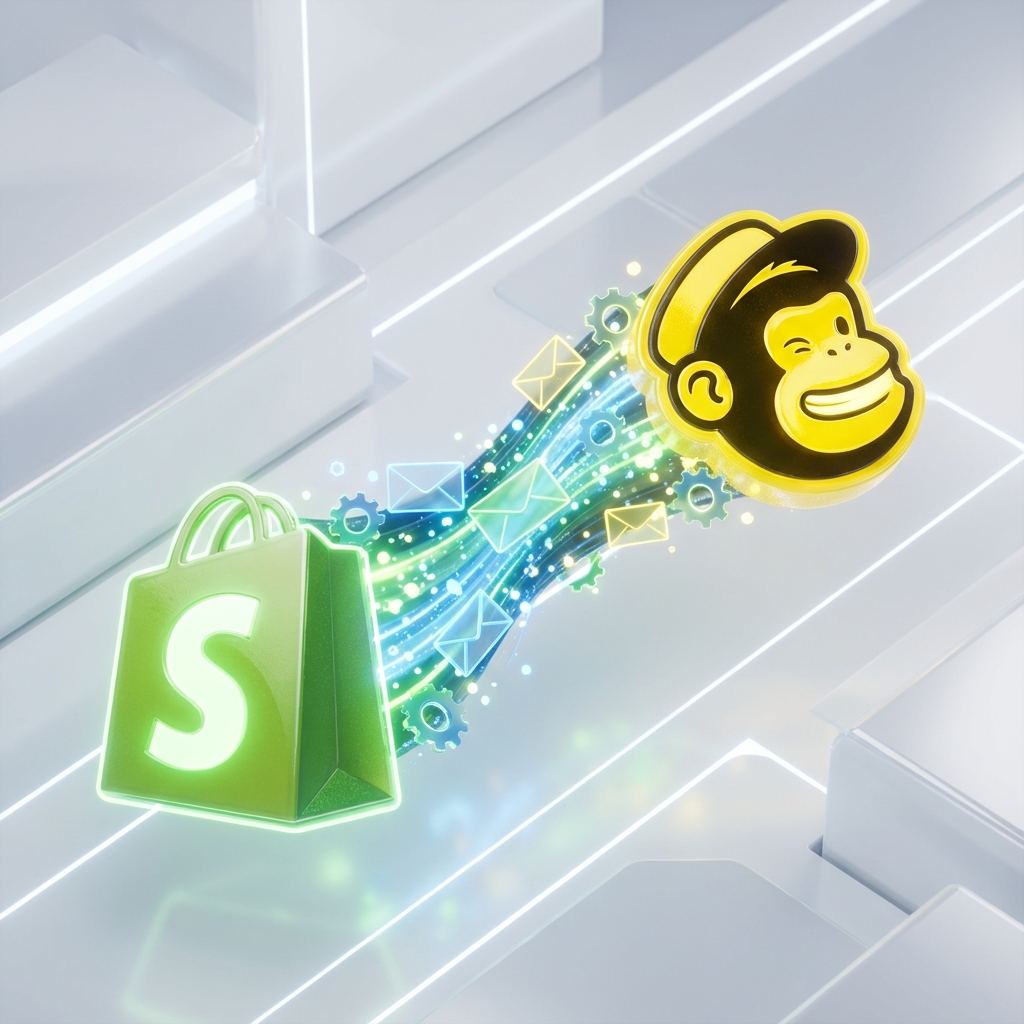
How to Connect Shopify to Mailchimp
Sync your Shopify customers and order data to Mailchimp to automate email marketing campaigns.
Who is this for?
E-commerce store owners who want to automate email marketing.
Top Use Cases
- Recover lost sales with abandoned cart emails.
- Send personalized product recommendations based on purchase history.
- Segment customers by spending amount (e.g., VIPs).
Common Issues & Fixes
Check if double opt-in is enabled. Contacts must confirm subscription before appearing.
Resync your product catalog in the Mailchimp integration settings.
Install the Mailchimp App
Log in to your Shopify Admin, go to the App Store, and search for 'Mailchimp: Email Marketing'. Click 'Add App' and follow the installation prompts.
Connect Your Account
Within the app, click 'Connect' and log in to your Mailchimp account. You will need to click 'Allow' to grant Shopify permission to sync data.
Configure Sync Settings
Select the Mailchimp Audience list you want to sync customers to. You can also map customer tags from Shopify (e.g. 'VIP', 'Repeat Buyer') to Mailchimp tags.
Activate the Sync
Click 'Start Sync'. The initial migration of historical data may take a few minutes. Check your Mailchimp Audience dashboard to confirm data is appearing.
Common Questions
Does this sync historical data?
Yes, the official integration typically syncs past orders and existing customer data.
Is it free?
The integration app is free, but you must have active accounts on both Shopify and Mailchimp.